Just like there’s a right way to cut hair and use makeup brushes, there’s a correct way to file toenails.
Some people might do it while watching TV or waiting, but careful filing is essential. If you often rush with your nail care, it’s time to change.

Read on for the best tips on how to file toenails and keep them healthy and pretty!
What You Need to File Toenails
As a nail technician, having the right tools is essential for giving your clients the perfect manicure. And when it comes to filing nails, you want to make sure you have everything you need to achieve a flawless finish.
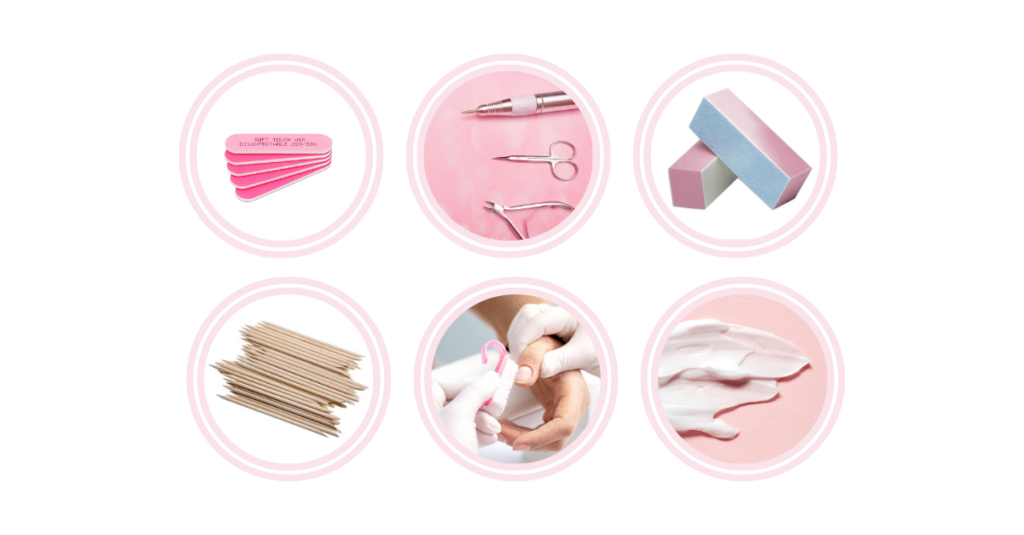
So, what exactly do you need? Let’s break it down:
- A Soft Nail File
This is best to use on natural nails to prevent nail tearing, damage, or further breakage. You can easily find a soft nail file at any department store or online.
Soft nail files are measured in “grit” numbers. The higher the number, the softer the file. For example, a 240-grit nail file is a good option to use.
You can check out this toenail file for your reference.
- Nail Clippers
Before you file nails or paint your nails, be sure that you have a pair of nail clippers nearby. Make sure you are using toenail clippers on your nails and not a regular nail clipper. What is the difference?
Toenail clippers are often bigger as they are designed to cut thicker nails.
If you use ordinary clippers on your toenails, you will have a hard time cutting because of the thick toenails. You can even break the clipper!
Nail clippers should be used to clip hangnails or to trim down significantly long nails. And remember: NEVER clip your cuticles!
- A Nail Buffer
Although a nail buffer can be optional, it can help with filing nails and smoothing out rugged edges or bumpy areas. Nail buffers can come in all different sizes and with different surface areas.
Most nail buffers have four edges with different surfaces and grit levels for filing.
Using a nail buffer can help give the nail a smooth and shiny surface, which is an ideal step prior to applying a base coat and painting.
- A Wooden Stick
This handy tool (also known as “orange wood”) is relatively inexpensive and can be thrown away after use.
This can be used to push back cuticles and clean out the nail beds and sides of the nail to remove dirt and dead skin, giving nails a fresh, clean look and smooth surface prior to painting.
A wooden stick is also handy to clean up and remove excess polish that may collect along the sides of the nails or the nail beds after painting.
- A Dust Brush or Piece of Cotton
This is great to have on hand to wipe away the dust after nail filing. Simply use a cotton ball or nail dust brush to clean off your nails and your work area once you are done filing.
Cleaning up excess nail dust is always a good idea prior to painting.
If you don’t brush off your nails or your work area sufficiently, then you risk painting over bits of nail dust, which can leave a bumpy or uneven surface on your nails.
- A Medium-Sized Bowl With Warm Water
After you finish filing your nails, you may want to soak them to properly sanitize them before applying a base coat or painting. This is optional.
- Moisturizer
After you finish filing and painting, it is best to moisturize nails to keep skin and cuticles healthy and smooth, especially if you suffer from dry skin or brittle nails. This is also optional.
Tips For Filing Toenails
You should apply specific methods and tips to make sure your nails are well-treated while being filed. Here are a few tips to file toenails.
Pick The Right File
Did you know that it’s important to clean your nail file before and after each use?
Using a glass versus metal, or standard acrylic filing surface will keep the nail tip from tearing. A “clean” file is an easy way to prevent splitting nails!
Don’t just go wary about your hands as this tip must also be applied in toenail filing.
The kind of tool used for filing one’s natural nails can make all the difference in how well they look post-filing job.
If you choose anything other than a glass filed, then be prepared for unhappy results with rough edges on brittle tips—not so great when applying polish over these pieces are tough as this could lead to chipping and cracking faster than usual due to low tolerance levels.
Embrace Your Natural Nail Shape
Your natural nails might be long and slender, short but strong, or wide like a squished diamond. All of these shapes have their own strengths just as any other nail shape would.
Use the strength that is inherent in your nail to choose which style you want when filing them down into an appropriate length for application purposes and manicure artistry.
Slow Down
It’s easy to rush through toenail filing so as not to spend too much time getting ready.
But have you ever noticed by going into any nail salon that it seems like just about anyone with manicure skills spends way longer shaping up their customer’s nails?
It’s because rushing the filing process will result in a mess.
It is important to be meticulous when filing your nails so that you don’t damage them.
It’s also worth taking the time to make sure everything looks nice before moving on with a manicure or pedicure because it will take care of itself afterward and look even better than if done quickly in one sitting.
How to File and Shape Your Nails
Filing and shaping your nails is much easier when you have all the right tools nearby. So, once you have the right tools ready to go, now it’s time to get down to business.
Clean, smooth, and beautiful nails are only a few steps away!
Here is a quick guide on how to properly file and shape your nails:
- Use a Soft Nail File
As mentioned above, using a soft nail file is best for filing natural nails. Using a 240-grit nail file is a great place to start.
Before you pick up your nail file and begin filing away, pay attention to the way you hold the file. Do not grasp the nail file.
Holding the soft nail file loosely between the thumb and index finger will allow you to have a firm handle on it and also easily move it in the appropriate direction.
2. File in One Direction
Here is a common mistake many DIY manicurists make. When filing nails, be sure to file them in one direction ONLY. Back-and-forth sawing motions are never okay.
Start from the center or the side of the nail and move in one direction—either from the side to the center or from the center to the side. Just be sure to choose one direction and stick with it.
Filing your nails back and forth will lead to breakage, tearing, and rugged edges. Not only is this method best for keeping nails healthy and smooth, it will also help you to easily get the shape you want.
3. Hold the File Flat
It might seem like second nature to hold a nail file at an angle, and some beauty blogs will tell you to do so. However, it’s best to hold the nail tip flat against the nail file while filing.
Holding the nail file at an angle while filing will thin the nail tip making it more susceptible to damage and breakage.
Although filing nails flat and in one direction might take longer than filing back and forth, you will likely be pleased with how your nails look afterward.
Note: If you accidentally file nails too short, don’t fret. Remember, like hair, nails will grow back. If you file nails too short, consider applying a neutral nail polish color, which can make nails look naturally longer until they grow to the desired length.
4. Shape the Nails
Filing nails to smooth rough edges is one step, but getting the desired nail shape is another. You can easily file your nails to get the shape you want.
Square, rounded, oval, almond, and stiletto are some popular nail shapes, each with their own levels of filing difficulty and skill.
The round shape is by far the easiest and most common shape to achieve. Use a file and simply round the edges and the top of the nail tip until you achieve a round shape. The same process goes for achieving square and oval shapes.
On the other hand, the almond and stiletto shapes require more time and patience. These shapes involve squaring the sides and edges, and then carefully rounding them at the top, bringing them to a point.
You can achieve any desired shape; the key is filing.
Note: Be careful not to file the nails too much. Filing too far in on the sides can weaken the nail causing nails to break easily.
5. Dust Off Nails
Once you achieve the desired shape and you are finished filing, the next step is to brush off the nails using a nail dust brush or cotton ball.
Be sure to also dust off your work area before you begin painting. This will help to ensure that nails are clean from excess nail dust and dead skin before painting.
6. Soak Nails
Before painting nails, soak nails in soapy water for a few minutes to properly sanitize and remove any excess dirt, dead skin, or nail dust prior to painting.
Not only will this step ensure a smooth paint job, but it will also help sanitize the nails to prevent infections.
However, if your nails are dry, brittle, and prone to breakage or damage, then you may want to skip this step as soaking can dehydrate nails, making them even more brittle and susceptible to damage and breakage.
7. Apply Base Coat and Paint
Finally, the moment you’ve been waiting for. After filing and shaping nails, the final step is to apply a base coat to help protect nails, avoid infections, and keep nails looking healthy and clean.
After applying a base coat, you can also paint the nails with a nail polish color of your choice.
8. Moisturize
Once you have finished painting your nails and are happy with the outcome, the last step is to moisturize.
Using your favorite moisturizer (preferably one with Aloe or Vitamin E), apply a dime-sized amount of moisturizer on your hands and smooth into the skin and cuticles sufficiently.
Be sure to make sure your nails are dried completely before moisturizing to avoid smudging or ruining your artwork.
Nail Cutting and Filing Techniques
When it comes to nail maintenance, cutting, and filing are two essential skills every nail technician should have in their arsenal. But how often should you cut your nails?
Should you cut them wet or dry? And what’s the best way to file your toenails? Don’t worry, I’ve got all the answers for you.
Cut Frequency: How Often Should You Cut Your Nails?
The frequency at which you should cut your nails depends on how fast they grow. On average, nails grow about 2-3 millimeters per month. That means you’ll need to trim them every 2-3 weeks to keep them at a manageable length.
Of course, this can vary from person to person, so it’s important to pay attention to your own nail growth and adjust accordingly.
Cutting Wet or Dry Nails: The Great Debate
Some people swear by cutting their nails when they’re wet, claiming it makes the process easier and prevents splitting.
Others prefer to cut them when they’re dry, believing it gives them more control. So, who’s right?
Well, it turns out there’s no one-size-fits-all answer to this question. It really comes down to personal preference. If you find it easier to cut your nails when they’re wet, go for it.
Just make sure to dry them thoroughly afterward to prevent any moisture-related issues. On the other hand, if you prefer cutting them dry, make sure your clippers are sharp to avoid any splitting or tearing.
Time Between Cuts: How Long Should You Wait?
Once you’ve determined the frequency at which you should cut your nails, you might be wondering how long you should wait between cuts. Ideally, you should give your nails some time to recover and grow before trimming them again.
Aim for at least a week between cuts to allow your nails to breathe and regenerate.
Cutting the Nail: The Right Technique
Now that you know when and how often to cut your nails, let’s talk about the actual technique. To achieve a clean and precise cut, follow these steps:
1. Start by sanitizing your clippers with rubbing alcohol to prevent any bacteria from spreading.
2. Hold the clipper perpendicular to your nail and position it about 1-2 millimeters away from the skin. This will prevent ingrown nails and potential injuries.
3. Gently squeeze the clippers to make a clean cut, avoiding any jagged edges.
Filing the Nail: Tips for a Smooth Finish

Filing your nails is just as important as cutting them. It helps shape and smooth the edges, resulting in a polished and neat appearance. Here are some tips for filing your nails:
1. Use a high-quality nail file with a fine-grit surface. Avoid using metal files, as they can cause damage to the nail.
2. File in one direction, moving from the sides to the center. Avoid sawing back and forth, as this can weaken the nail.
3. Shape your nails according to your preference. Whether you prefer square, rounded, or almond-shaped nails, the choice is yours.
4. Finish off by gently buffing the surface of your nails to create a smooth and shiny finish.
And there you have it! With these nail-cutting and filing techniques, you’ll be able to maintain beautiful and healthy nails. Remember, practice makes perfect, so don’t be afraid to experiment and find what works best for you. Happy clipping and filing!
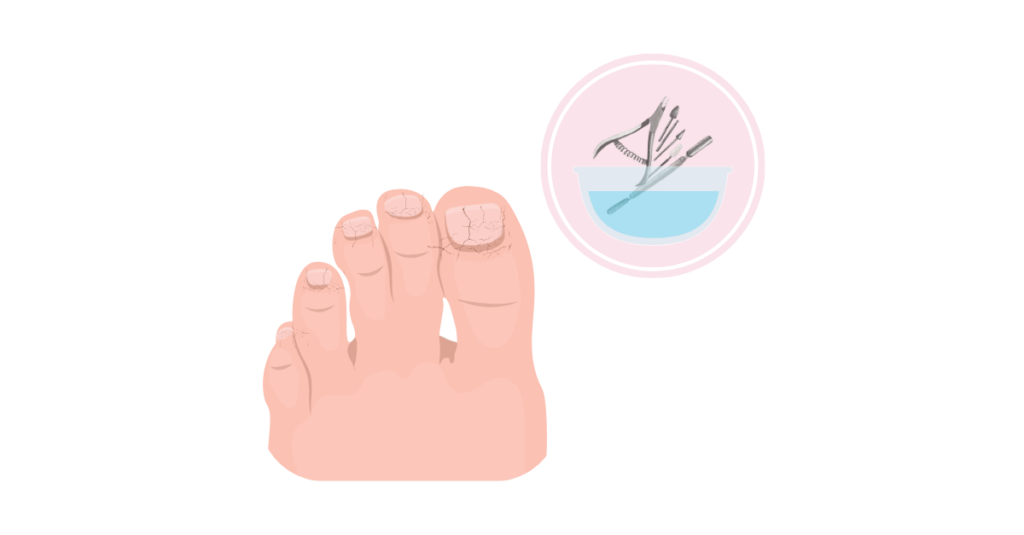
How to Cut Thick Toenails: Techniques for Nail Technicians
If you’ve ever encountered a client with thick toenails, you know how challenging it can be to give them a proper trim.
Here we’ll explore the causes of thick toenails and share some cutting techniques that nail technicians can use to tackle this common issue.
Causes of Thick Toenails
1. Aging
As we get older, our nails tend to become thicker and harder. This is a natural part of the aging process and can make it more difficult to trim toenails.
2. Trauma
Injuries to the toenail, such as stubbing your toe or dropping something heavy on it, can cause the nail to thicken as it heals. This protective response is the body’s way of preventing further damage.
3. Fungal infection
One of the most common causes of thick toenails is a fungal infection. According to a study published in the Journal of the American Academy of Dermatology, fungal nail infections affect approximately 10% of the population. The infection can cause the nail to become discolored, brittle, and thick.
Cutting Techniques for Thick Toenails
Now that we know what causes thick toenails, let’s dive into some techniques that nail technicians can use to cut them effectively:
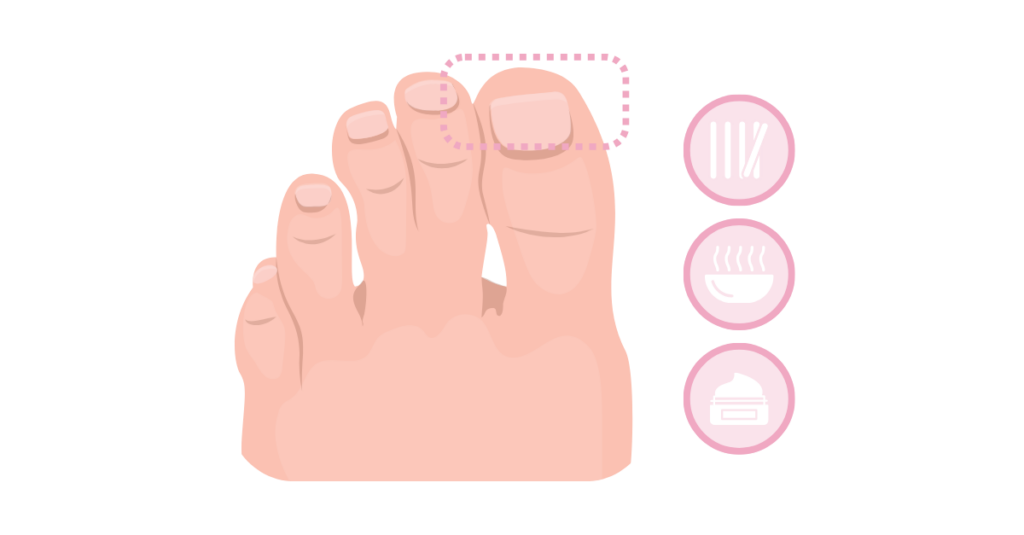
1. Soak the feet: Before attempting to trim thick toenails, it’s essential to soften them first. Soaking the feet in warm, soapy water for about 10 minutes can help soften the nails and make them easier to cut.
2. Use the right tools: To cut thick toenails, you’ll need a pair of sturdy, sharp nail clippers or nippers. Look for clippers with a straight edge and a wide jaw that can accommodate thicker nails.
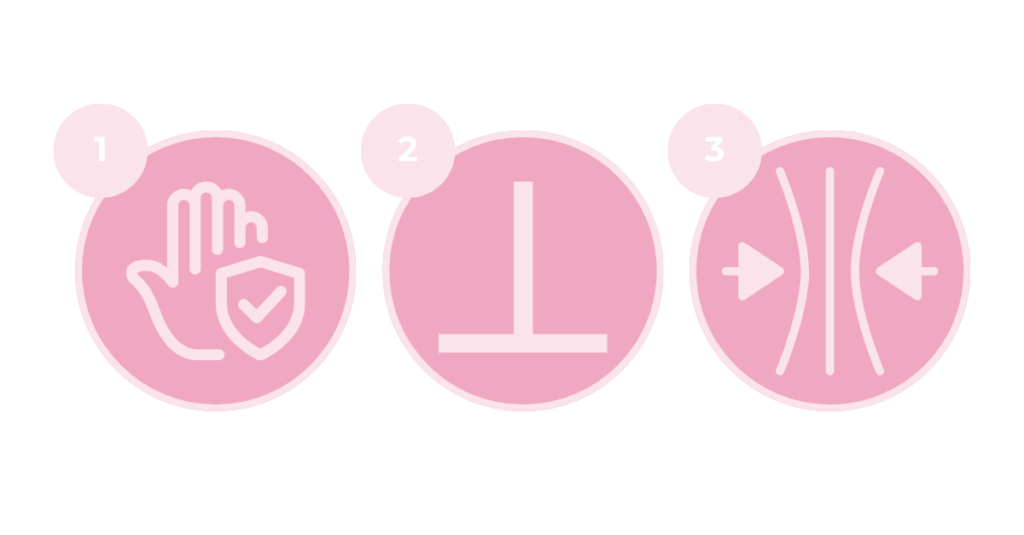
3. Trim straight across: When cutting thick toenails, it’s best to trim them straight across. Avoid rounding the corners or cutting them too short, as this can increase the risk of ingrown toenails.
4. Take small cuts: If the nail is exceptionally thick, it may be easier to trim it in small sections rather than trying to remove the entire length at once. This approach can help prevent the nail from splintering or cracking.
5. File the edges: After trimming the toenails, use a nail file to smooth out any rough edges. Be gentle and file in one direction to avoid causing further damage to the nail.
Prevention and Maintenance
To prevent thick toenails and maintain healthy nails, here are a few tips:
- Stay clean and dry: Wet feet can cause fungus. Always wear shoes that let your feet breathe and change socks often.
- No tight shoes: Tight shoes can hurt toenails and cause them to grow wrong. Wear shoes where your toes have space.
- Fight off fungus: If you get a toenail fungus, use treatments from the store. Or, see a foot doctor for help.
- Take care often: Have regular check-ups for your toenails. Cut and file them the right way to keep them nice and healthy.
Understanding Ingrown Toenails
Ingrown toenails happen when a nail edge grows into the skin beside it. This can hurt a lot! But why does it happen?
- Cutting nails wrong: If you cut your nails too short or in a rounded shape, they might grow into the skin. Think of it like telling your nails to grow the wrong way.
- Wearing tight shoes: Cool shoes are nice, but if they’re too tight, they can push your toenail to grow inside. It’s like your toes are playing a tight game.
- Hurting your toe: If you bump your toe or drop something on it, you might get an ingrown toenail. It’s like an unexpected pain party.
Home Remedies for Treating Ingrown Toenails
Now that we know how ingrown toenails occur, here are some home remedies that can provide relief and help your clients get back on their feet:
- Soak your feet in warm water for 15 minutes a few times a day. It’s like a mini spa for your toes!
- Put on some antibiotic cream if it looks infected.
- Gently lift the toenail edge with dental floss or cotton to guide it.
But remember, if the problem keeps happening or gets worse, it’s smart to see a foot doctor!
Final Thoughts

See? Filing and shaping nails is easy as a snap—but, not literally. We don’t want any broken nails!
But, seriously, with the right tools and techniques, you can achieve beautiful nails that are perfectly shaped to your liking. Remember to file in one direction, avoid filing too short, choose the right nail shape for you, and don’t neglect overall nail care.
Do you have a favorite nail shape or a trick for filing nails? We’d love to hear all about it! Feel free to share your thoughts and comments below.
And if you enjoyed this article, don’t forget to share it with your fellow nail technicians. Happy filing!
