Is there anything better than the feeling of freshly painted nails?
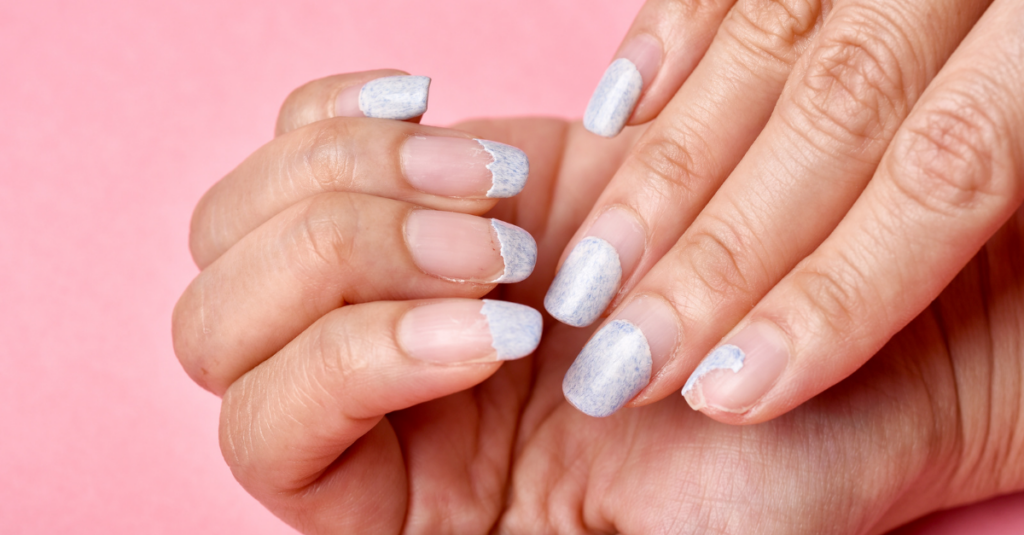
Your nails look and feel clean, bright, bold, and beautiful. However, the excitement of a fresh manicure can quickly fade into frustration when you notice chips, bumps, and uneven parts only a few days later.

Read on to learn how to apply nail polish—the right way!
Preparing Your Nails for Polish
But first, let us know more about nail prep before applying your favorite nail polish.
- Start With The Right Nail Polish

Let’s talk about the star of the show: nail polish!
When it comes to choosing the perfect polish, there are a few things to consider. First and foremost, go for a high-quality polish that will give you that flawless finish.
Choose brands that are known for their long-lasting formulas and vibrant colors. You can check this article on some trendy nail polish for your next nail art inspiration.
- Cleanse and Remove

Before we can even think about how to apply nail polish, we need to start with a clean and smooth canvas. Clean nails are important in nail polish application.
So, grab some nail polish remover and a lint-free cotton pad or ball, and gently swipe away any existing polish.
Make sure to get into those hard-to-reach corners and remove any stubborn residue.
Pro tip: Look for a non-acetone nail polish remover to prevent drying out the nail and cuticles. Your clients will thank you for it!
What You Will Need
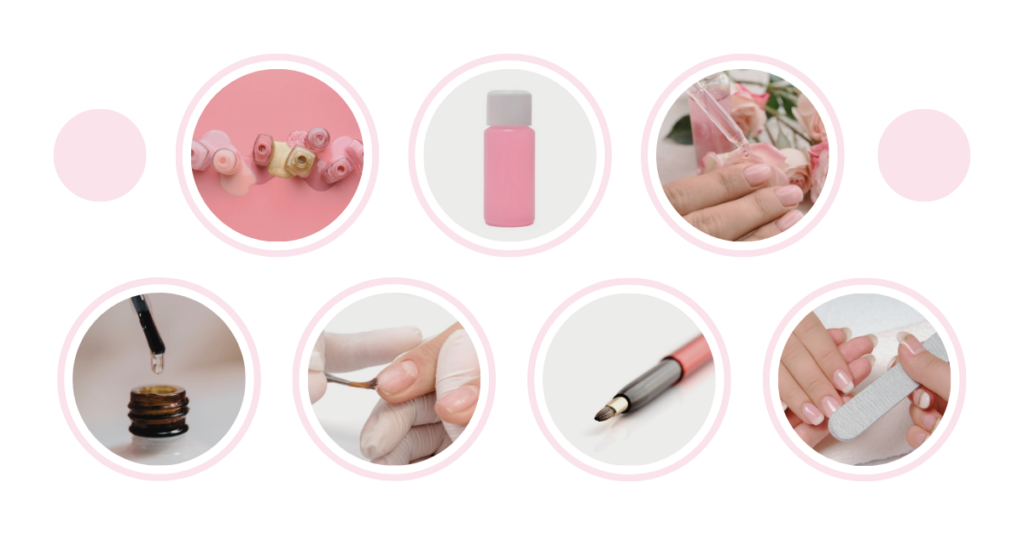
Before you start with the nail polish application, make sure you have these items with you:
- Nail polish of your choice
- Nail polish remover
- Cuticle oil
- Top coat
- Base coat
- Lip brush
- Nail file
A lip brush will be used to clean up excess nail polish around the edges of the nail after the final coat of nail polish is applied.
If you don’t have a lip brush handy, then try using a fine Q-tip, a nail tee, or a pointed steel nail tool.
Pro Tip: Avoid using quick-dry or cheap nail polish as these brands tend to dehydrate and damage the nail. Although some of the higher-end brands might be more expensive, they are less likely to chip and dry out.
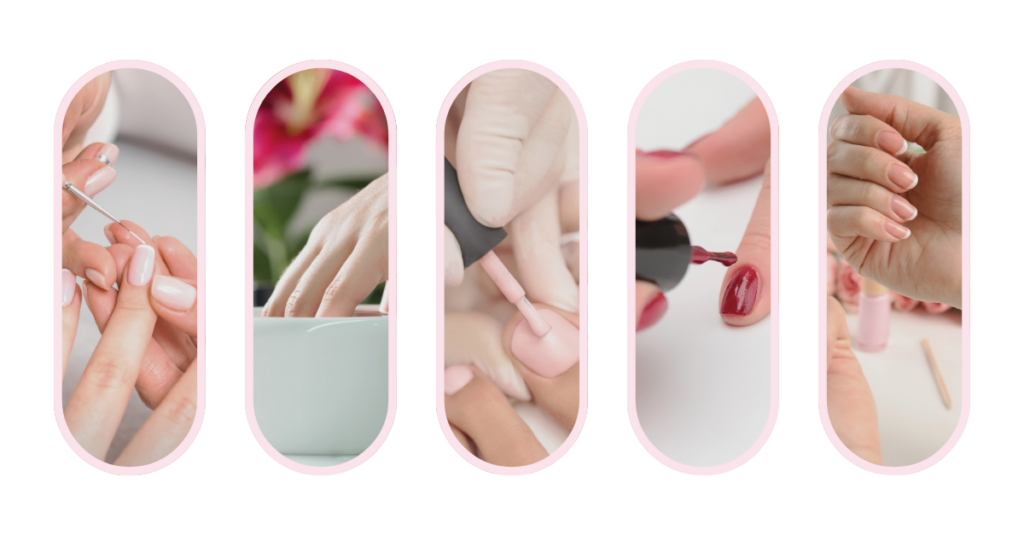
Step-By-Step Instructions: How to Apply Nail Polish

Having beautifully painted nails doesn’t have to be an expensive, arduous task. By following this quick tutorial, you will learn how to apply nail polish to avoid chips, bumps, and uneven areas, leaving your nails looking beautiful days after you paint them.
Step 1: File Your Nails
Even if you are diligent about filing your nail and keeping them in shape and in good condition on a regular basis, take a minute or two before painting your nails to make sure there are no jagged edges or hangnails.
Make sure that the tips of your nails are as even as possible. If you don’t take the time to quickly file your nails before the nail polish application, then you may find out that you missed a jagged edge the hard way.
Rather than redoing all your hard work, avoid this mishap simply by giving your nails a quick file before the nail polish application.
Here’s an article on how to file nails to learn more.
Step 2: Select Your Nail Polish
Before painting your nail, you likely already have a nail polish color in mind. If you haven’t yet selected your polish, it’s important to remember to avoid using quick-dry polish or cheap brands as these tend to dehydrate the nail, making them more susceptible to breakage and damage.
Do your nails—and yourself—a favor: Select a quality nail polish brand. You will thank yourself later.
If you have selected an old favorite nail polish, do not shake the bottle! Many DIY manicurists are guilty of this bad habit.
Shaking the nail polish will allow air bubbles to enter the polish, which can make it thick and difficult to apply. Rather than shaking the bottle, roll it between your hands.
Pro Tip: You can also add a little nail polish thinner to that old bottle of nail polish in order to make the polish thinner and easier to apply.
Step 3: Start With A Base Coat
Before applying nail polish, first layer your nail with a base coat. This will protect your natural nails from staining and dehydration, and it will also help the polish stick to the nail.
Step 4: Apply Nail Polish
Now you are ready to apply nail polish to your nails. Many DIY manicurists make the common mistake of applying more nail polish than what is actually needed, leaving nails looking too thick, uneven, and bumpy.
The truth is you only need three strokes of polish to give your nail a smooth appearance.
First, put the brush into the bottle until it’s halfway covered with polish. If there’s too much polish on the brush, wipe it on the side of the bottle to take some off.
Then, apply the polish, starting at the base of the nail, and work up to the tip. Be careful not to get too close to the nail cuticles. Stroke the brush to the left, and the right, and then finish by applying polish to the center. That’s it!
Depending on the color and boldness of the polish, you may need a second coat later. We recommend painting all of your nails first before applying a second coat.
Step 5: Clean Up The Edges
Once you have finished the nail polish application, and you have put on a second coat, the next step is to clean up the edges. Simply take your pointed nail tool, lip brush, or Q-tip, dip it into the nail polish remover, and clean the edges of your nail and cuticles.
Be careful not to use too much nail polish remover as this can smudge and ruin your already perfectly painted nails.
Step 6: Apply The Top Coat
Once your nails are completely dry, and the edges of your nails are clean from excess polish, the final step is to apply the top coat.
Applying the top coat will benefit your nail from chipping and smudges which results to longer lasting manicure.
Allow enough time for the top coat to dry (your nail should not be sticky at all!), which can take up to 10 minutes.
Try to avoid doing any tasks that involve your hands immediately after painting your nail, such as doing the dishes or folding laundry.
Allowing sufficient time for your nails to dry and set will leave them looking fresh, shiny, and perfect.
Using Different Tricks to Keep Your Nail Polish Neat
- Use A Fine Tip Brush
Use a fine-tip brush to create a defined outline around your nail cuticles. Try Melody Susie Fine Detailing Brush, and dip it in some acetone. Use the brush to clean up any polish that has strayed outside the lines, creating a perfect outline around the cuticles.
This will instantly make your manicure look more professional and clean.
- Painting and Drying Your Nails
Three-Stroke Rule: Forget about frantically brushing back and forth. The three-stroke rule is your new best friend. Start by placing the brush at the base of the nail, slightly above the cuticle.
Then, gently glide the brush to the left, to the right, and finally down the center of the nail. This technique ensures even coverage and minimizes streaks.
Here are some tips to speed up the drying process:
- Quick-Dry Topcoat: Invest in a good quick-dry topcoat like the Seche Vite Dry Fast Top Coat. This magical potion not only adds shine and extends the life of your manicure but also dries your nails in record time.
Apply a thin layer of quick-dry topcoat to seal in your polish and speed up the drying process.
- Ice Water Bath: If you’re in a hurry and need your nails to dry ASAP, try the ice water bath method. Fill a bowl with cold water and ice cubes, then dip your freshly painted nails into the icy concoction for a few minutes.
The cold temperature helps solidify the polish and speed up drying time. Just remember to let your nails air dry afterward to avoid smudging.
- Apply the Nail Polish Perfectly With Care
Now that we’ve got the cuticle situation under control, let’s focus on properly applying nail polish. Start by applying a base coat to protect your natural nail and prevent from staining.
Then, grab your favorite nail polish and apply it in thin, even layers. Don’t try to rush the process by applying thick coats – it will only lead to smudging and longer drying times.
Take your time and be patient, my friends. Your nails will thank you.
- Rotate Your Dominant Hand to Apply Nail Polish
Here’s a little trick I learned from years of experience in the nail industry. If you’re right-handed, try rotating your left hand while applying nail polish to make it easier to reach all the angles. And if you’re left-handed, do the opposite.
This simple technique will give you better control and more precision, resulting in a cleaner and more professional-looking manicure.
- Allow Adequate Drying Time
Ah, the waiting game. I know it can be tough, but trust me, it’s worth it. Allow each coat of nail polish to dry completely before applying the next one.
This will prevent smudging and ensure a long-lasting manicure. If you’re in a rush, you can speed up the drying process by using a quick-dry top coat or a nail drying spray. Just remember, patience is a virtue when it comes to nail polish.
Cleaning Up Your Polished Nails

Now that you’ve mastered the art of nail polish application, let’s talk about cleaning up any mistakes. No matter how careful you are, there’s always a chance of getting some polish on your skin. But don’t worry, my friends, because I’ve got a simple solution for you.
Grab a small brush, like the Melody Susie Fine Detailing Brush I mentioned earlier, and dip it in some acetone. Use the brush to gently remove any polish that has strayed outside the lines.
Be careful not to scrub too hard or you might remove the polish from your nail as well. Once you’re done, clean up any remaining residue with a cotton swab dipped in acetone.
Voila! Your nails will look like they were done by a professional.
What Is The Best Nail Polish For Weak Nails?
If you’re dealing with weak nails, don’t worry, I’ve got your back. Look for nail polishes that are specifically formulated to strengthen and nourish your nails.
Choose brands that offer a wide range of nail polishes that are enriched with vitamins and minerals to promote nail health. These polishes can help protect and strengthen your nail while still giving you a beautiful and long-lasting manicure.
How To Apply Glitter Nail Polish
Glitter nail polish is beautiful, sparkly, and oh-so-fun to wear. But let’s be honest, it can be a pain to apply. The key to a flawless glitter manicure is layering. Start by applying a clear base coat to protect your nail.
Then, apply a thin layer of your chosen glitter polish. Let it dry completely before applying another layer, and repeat until you achieve your desired level of sparkle. Finish off with a top coat to seal in the glitter and give your nails a smooth and glossy finish.
How Will I Know When My Nail Polish Is Dry?

So, you now know how to apply nail polish. Now the next question is how will you know if the nail polish is dry?
Well, my friends, I have a foolproof method for you. Gently touch the surface of your nail with the tip of your finger. If it feels tacky or sticky, it’s not dry yet.
If it feels smooth and dry to the touch, then congratulations, your nails are ready to go!
Just remember, different nail polishes have different drying times, so be patient and give it some time.
How To Apply Matte Nail Polish
Matte nail polish is all the rage right now and for good reason. It gives your nails a chic and sophisticated look that’s perfect for any occasion.
To apply matte nail polish, start by applying a base coat to protect your nail. Then, apply a thin layer of matte polish and let it dry completely. If you want a more intense matte finish, you can apply a second coat.
Finish off with a matte top coat to seal in the color and give your nails a velvety smooth texture.
Do You Put A Top Coat On Matte Nail Polish?

The answer is not a simple yes or no. Some people prefer the matte look as is and skip the top coat, while others like to add a glossy top coat to give it a little extra shine.
It’s really up to you and your personal preference. Just keep in mind that adding a top coat may alter the matte finish slightly, so test it out on a small section of your nail before committing to the whole manicure.
Final Thoughts

Hey, nail techs! Now that you know how to apply nail polish, you can now have fun running your nail salon business.
By following the step-by-step instructions on how to apply nail polish, and with a few simple tools, you can learn how to easily paint your nail like a pro.
Remember, practice makes perfect. Keep honing your skills, stay up to date with the latest trends, and never stop experimenting. The world of nail art is your oyster, so go out there and create some stunning masterpieces!
If you have some tips on how to apply nail polish like a pro, then we’d love to hear them! Add your thoughts in the comment box below, and don’t forget to share this article with your friends!
More Related Resources:
