Regardless of how long you’ve been getting your nails done or have been doing nails, you have likely come across this question from time to time.
This is one question that has sparked debate across the nail industry for some time. So, today we are going to try to settle the score once and for all…

But first, let us know more about nail buffing.
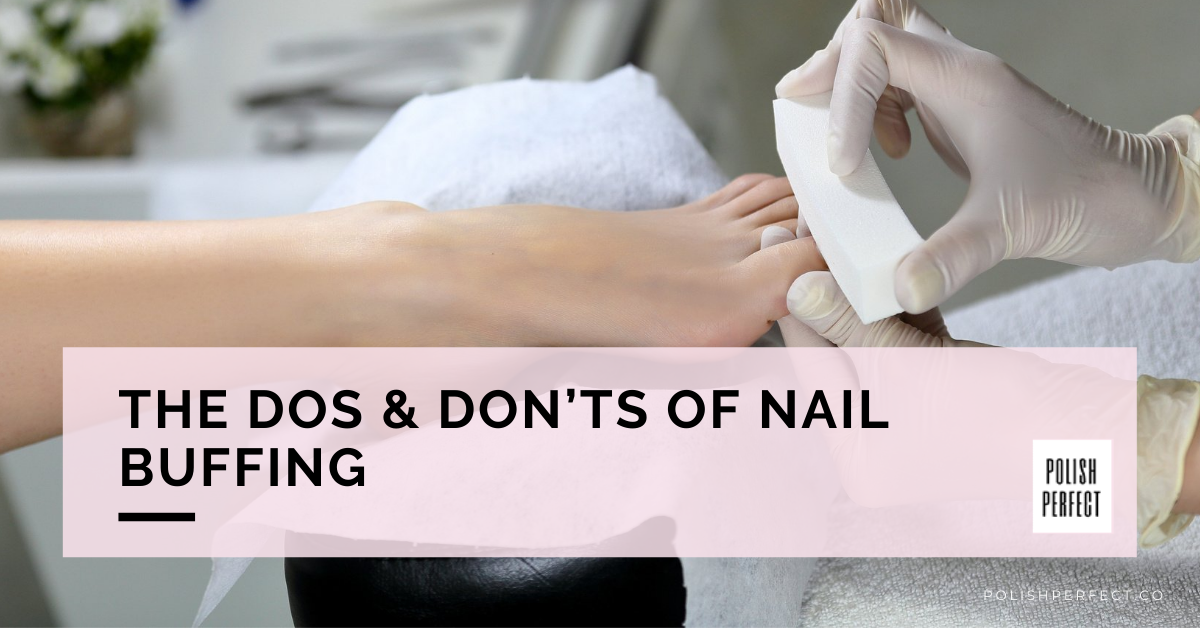
What Is Nail Buffing?

Nail buffing is a technique that involves using a buffing block or buffer to smooth out the surface of the nails and create a natural shine. It’s like giving your nails a mini spa treatment right at the salon! This process typically involves three main steps: filing, buffing, and polishing.
How To Buff Your Nails: A Step-by-Step Guide
Here are the tools you will need to buff your nails:
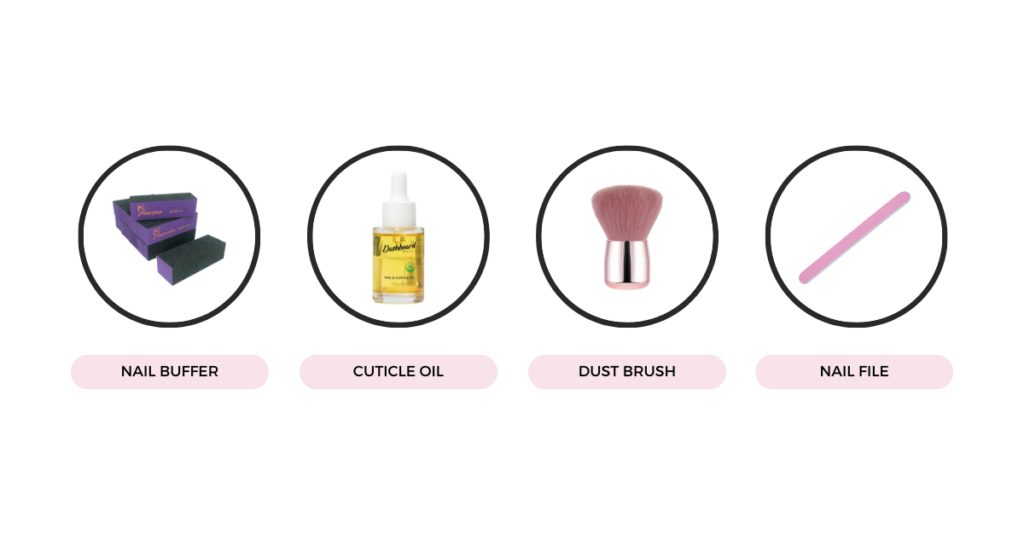
- Nail Buffer
- Nourishing Cuticle Oil
- Cotton Cloth or Dust Brush
- Nail File
Step 1: Shape Nails With Nail Clippers and a Nail File
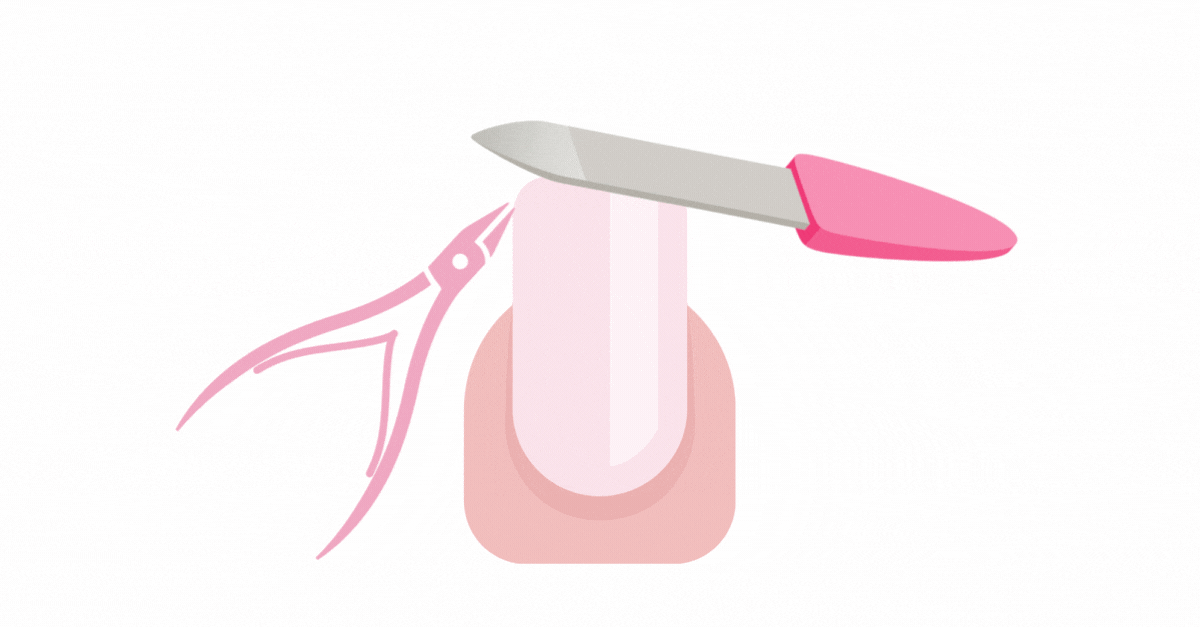
Before you start buffing, it’s important to shape the nails using a nail file. This will ensure that the nail surface is even and ready for the buffing process. You can choose from different nail shapes, such as square, oval, or almond, depending on your client’s preferences.
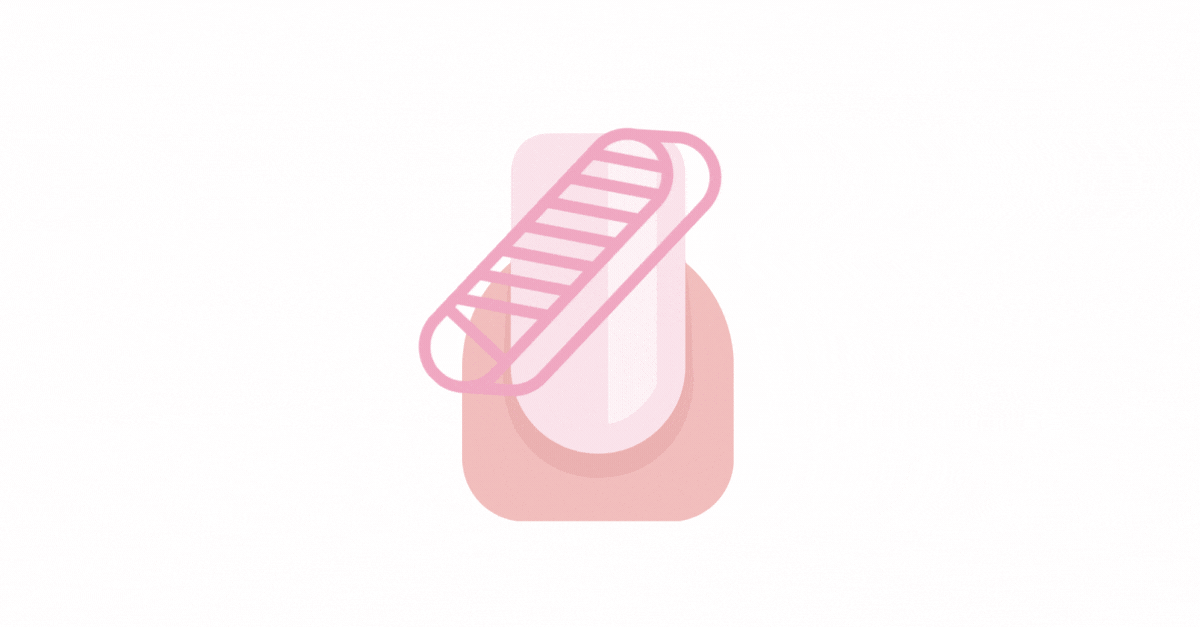
Step 2: Buff the Nails With the Coarser Side of Your Nail Buff
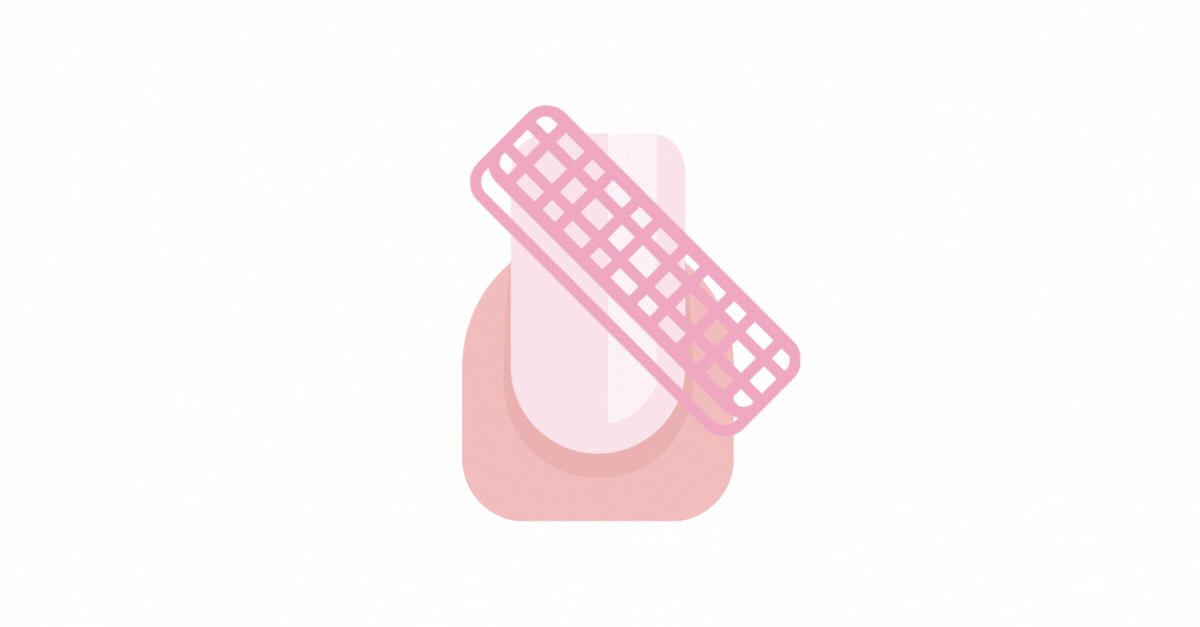
Now comes the fun part – buffing! Grab your trusty buffing block and gently glide it back and forth across the nail surface. The buffing block is usually made of a soft, abrasive material that helps smooth out any ridges or imperfections on the nail. Remember to use light pressure and avoid buffing too vigorously, as this can thin out the nails.
Step 3: Buff Nails With the Finer Side of Your Buffer
Once you’ve buffed your nails with the coarser side of the buffer, it’s time to switch to the finer side. This side will give your nails a final polish and shine, leaving them looking sleek and professional.
Step 4: Apply Cuticle Oil To Nourish Your Nails and Skin
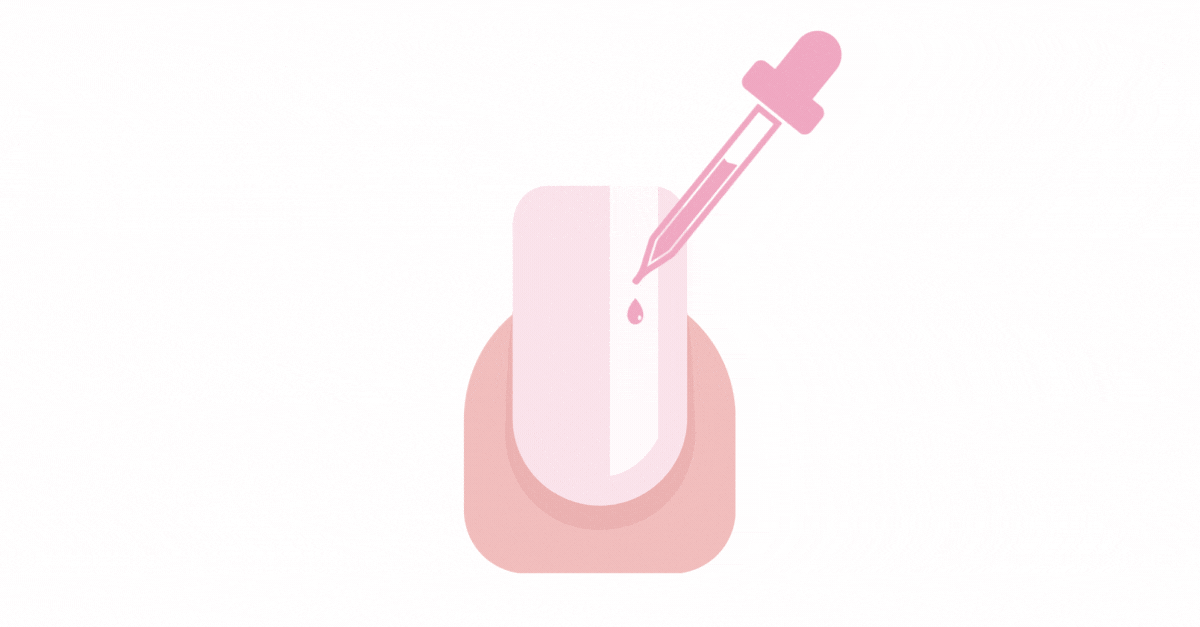
After all that buffing, your nails, and cuticles may be feeling a little dry. Show them some love by applying a few drops of cuticle oil. This will not only nourish your nails and cuticles but also give them a healthy, hydrated appearance.
Step 5: Apply Base Coat, Color, and Top Coat for Added Protection
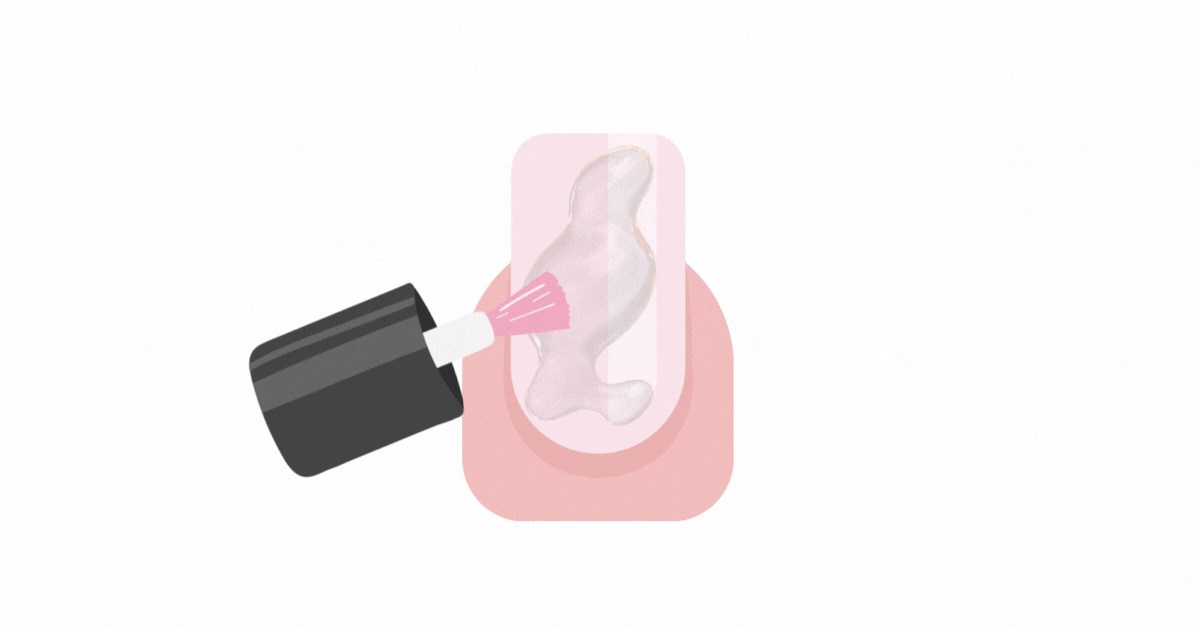
Now that your nails are buffed and prepped, it’s time to apply your base coat, color, and top coat. This will not only add a pop of personality to your nails but also provide an extra layer of protection against chips and cracks.
Pro Tip: If you’re looking for a long-lasting manicure, opt for gel polish. Gel polish is known for its durability and can last up to two weeks without chipping.
Now, that we know more about nail buffing let’s go back to the question:
Is Nail Buffing Safe?
We found this great video by our good friend, Susie at Nail Career Education. Susie calls in an expert to provide a humorous yet thorough explanation of when, why, and how it is okay to buff natural nails for nail enhancement.
Here’s what we discovered:
- Nail enhancement products will adhere better to the surface of the nail plate when nails are clean, dry, and slightly filed after natural nail buffing.
- Never buff acrylic nails or natural nails aggressively.
- OVER-nail buffing is a thing… and it can severely weaken nail beds!
- Modern nail enhancement products still adhere well to nail plates, without the need for over-nail buffing or filing.
- Keep nail plates strong!
You can check out this super quick, two-minute video here on nail buffing for more information.
So, if you want to try nail buffing on your own, you can purchase a soft nail buffer at any department store or on Amazon.
Most nail buffers come in a rectangular-cube shape with four different surface areas for natural nail buffing and an acrylic nail buffer.
Why Buff Your Nails
1. Improves Blood Circulation
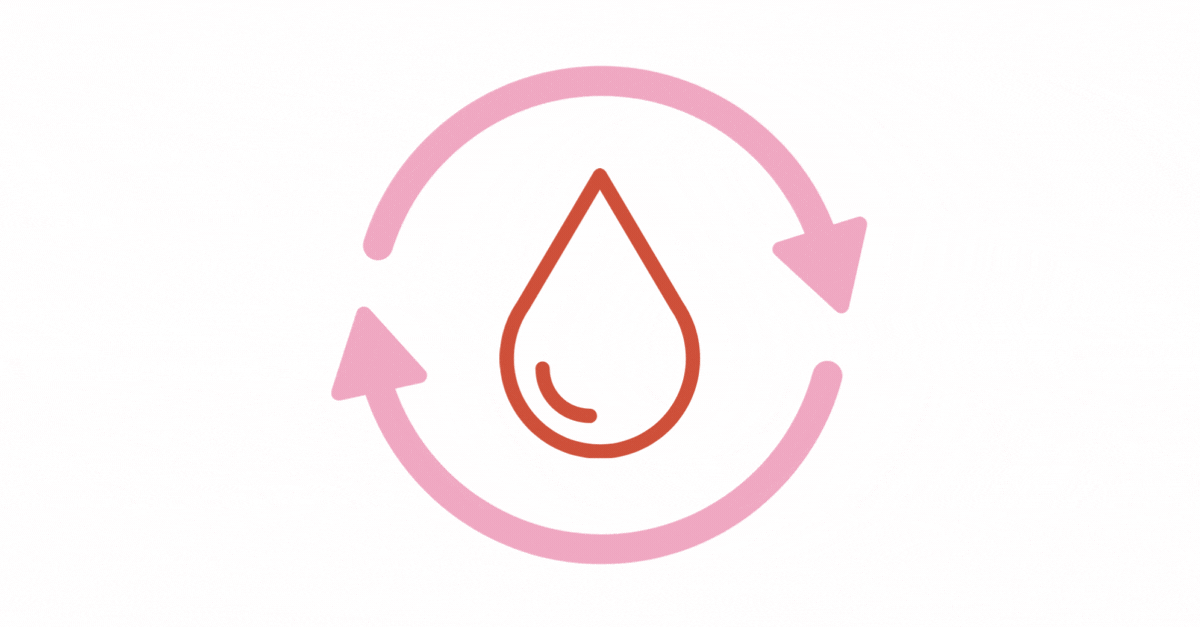
Buffing your nails not only helps them look great but also improves blood circulation. When you gently buff the surface of the nails, it stimulates the blood vessels underneath, promoting better circulation to the nail bed.
Improved blood flow means healthier nails, which in turn leads to stronger, faster-growing nails. It’s a win-win for both you and your clients!
2. Removes Surface Stains
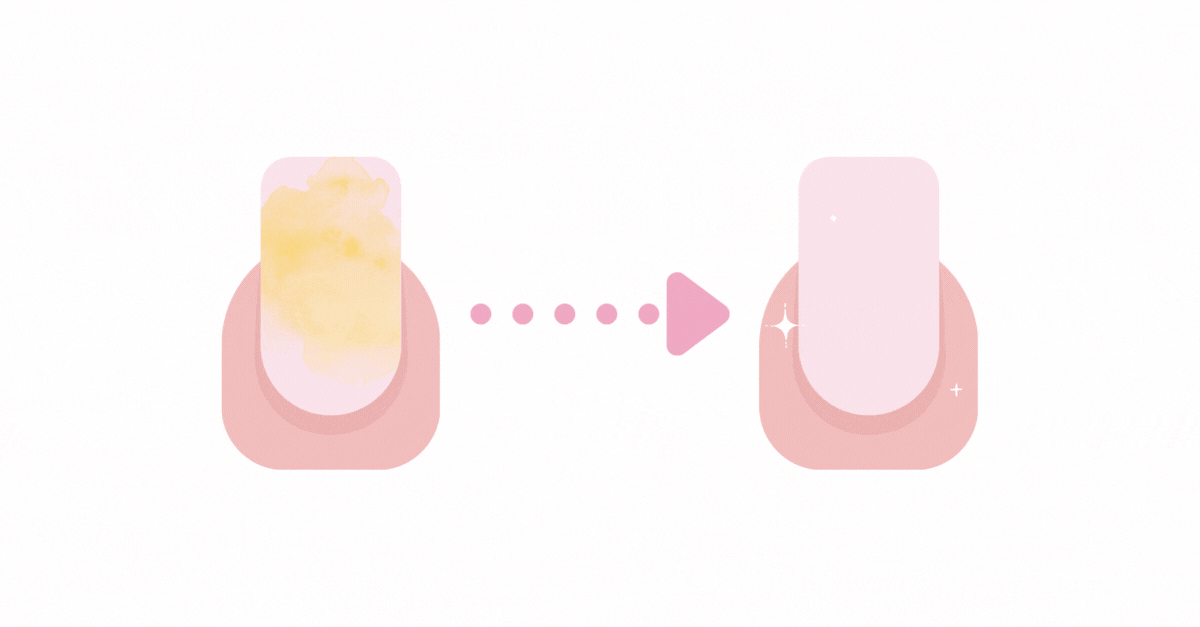
We’ve all experienced those pesky surface stains on our nails. Whether it’s from dark nail polish or everyday activities, they can be quite the eyesore. Buffing is a simple and effective way to remove these stains and restore the natural color of the nails.
By gently buffing the surface, you can say goodbye to those unsightly marks and hello to a clean and fresh canvas for your next nail design.
3. Adds an Attractive Sheen
Who doesn’t love a little extra shine? Buffing your nails not only smoothens out the surface but also adds an attractive sheen. This natural shine gives the nails a healthy and well-groomed appearance. It’s like giving your clients that salon-fresh look without any extra effort. Plus, who can resist a little extra sparkle?
4. Smoothens Out the Nail’s Surface
Have you ever struggled with a bumpy nail surface? It can be frustrating, especially when you’re trying to create a flawless nail design. Buffing comes to the rescue!
By gently buffing the nails, you can smooth out any bumps or ridges, creating a perfect canvas for your nail art. Your clients will appreciate the extra attention to detail, and you’ll love how much easier it is to work on a smooth surface.
5. Promotes Nail Growth
If your clients dream of long, beautiful nails, buffing can help make that dream a reality. By stimulating blood flow and removing surface stains and imperfections, buffing promotes nail growth. It strengthens the nail bed and encourages healthy nail growth from the base. So, the next time your clients ask how they can achieve longer nails, you know the answer—buffing!
How to Buff Like a Pro
Now that we’ve established the benefits, let’s talk about the dos and don’ts of buffing to ensure you don’t end up with a nail disaster.
Do Use the Right Tools
Invest in a good quality buffing block or buffer. Look for one with fine grit that won’t be too harsh on your nails. Remember, we want to buff, not sand them down to nothing!
- Don’t Go Overboard
Buffing should be a gentle process. Don’t apply too much pressure or spend too much time buffing in one spot. We’re aiming for a light touch here, not a full-on nail assault.
- Do Buff in One Direction
Always buff your nails in one direction, preferably from the cuticle to the tip. This helps prevent damage to the nail plate and keeps everything looking neat and tidy.
Don’t Buff Too Often
Buffing too frequently can thin out your nails and weaken them over time. Aim to buff no more than once a month to keep your nails in tip-top shape.
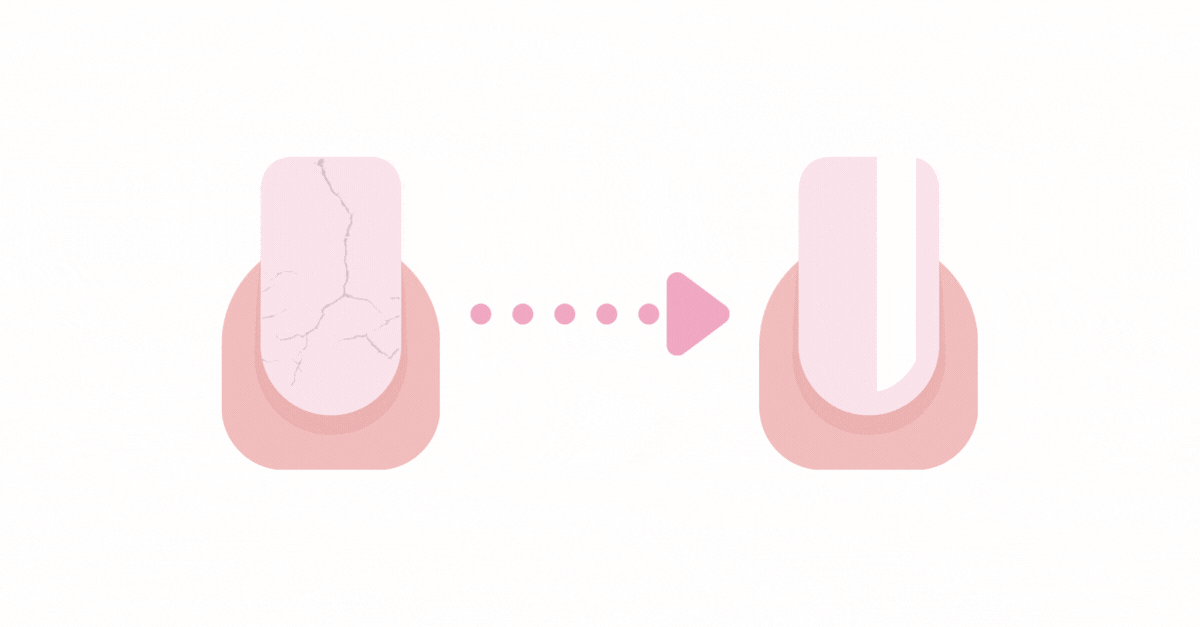
While buffing natural nails can have its benefits, it’s important to note that over-buffing can lead to nail damage.
Over buffing can thin out the nail, making it more susceptible to breakage and damage. It can also cause a condition known as onycholysis, where the nail separates from the nail bed.
So, the key here is moderation. Don’t go overboard with buffing, and always listen to your nails. If they start to feel weak or thin, it’s time to give them a break.
- Do Moisturize
After buffing, make sure to moisturize your nails and cuticles. This helps keep them hydrated and prevents them from becoming dry and brittle.
Final Thoughts

There you have it—the truth about buffing natural nails. It’s safe, beneficial, and can give your nails that extra polish they deserve. Just remember to buff in moderation and listen to your nails.
So, what do you think? Is this article helpful?
Share your opinion in the comment section below. And don’t forget to share this article with your fellow nail technician. Happy buffing!
